PfSense HAVP Antivirus Configuration

Hello Fellas ;
In this section we’ll install an AVP on our PfSense to take precautions to any virus stiuation.
Let’s start with installation an AVP .
SystemPackages section “HAVP antivirus” download and install it.

Installation done

There are 2 scenarios
a-) If you do not have Squid pack on PfSense machine
b-) If you have Squid Pack on Pf Sense and running as Transparence Proxy
A-) First we’ll look up PfSense Firewall and configurated but you do not have any extra packages and every client on your server can use internet without any loss
Installation HAVP is done and click on play button to activate them.It will take some time to get activate.

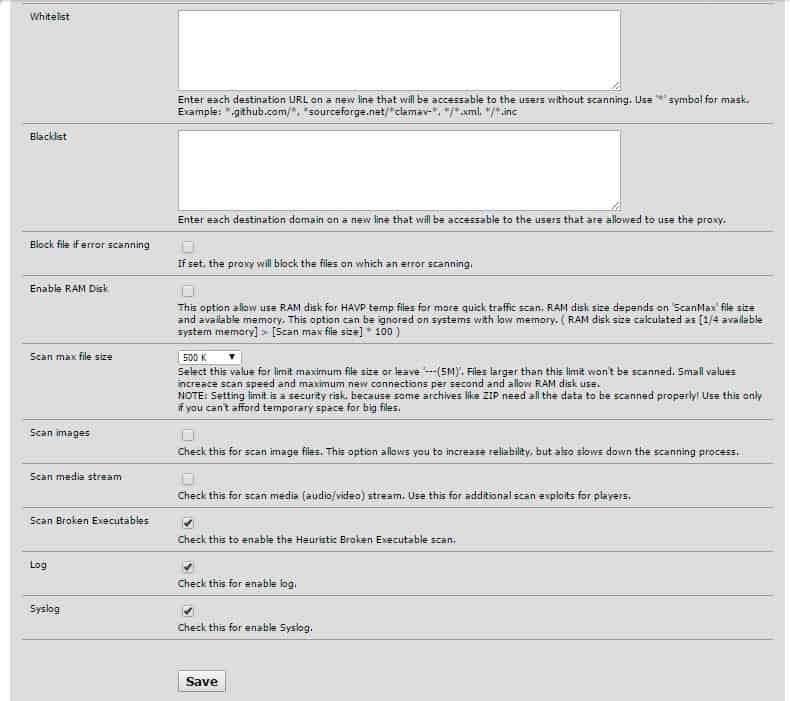
Click on Settings Section ;
- How many time required for DB updating
- Which location for updating
- Recording Logs or not

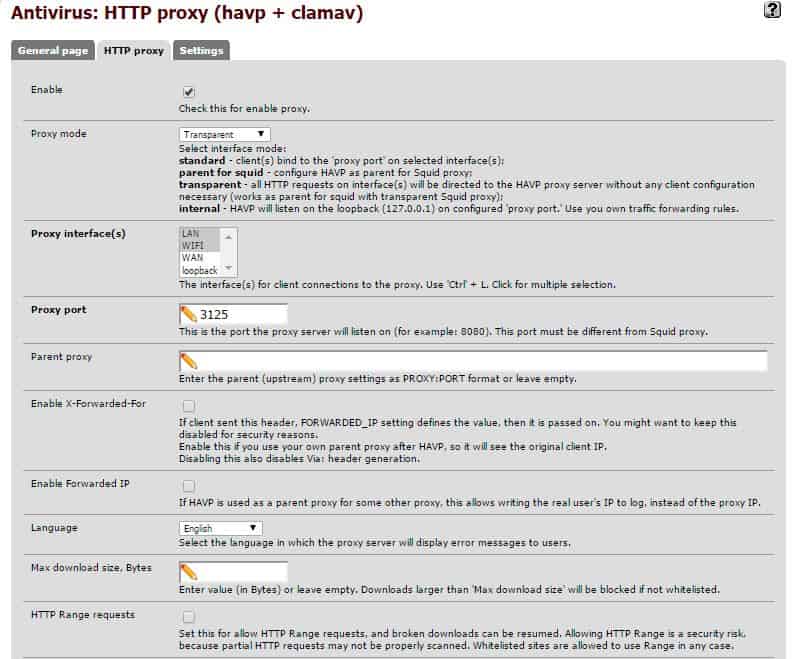
Http Proxy settings

Proxy interface : bu alanda antivirüsün koruma altına alacağı interface leri seçiyorum.
Language: Dil seçeneğini belirliyorum.
Till this part we have talked about the 1st scenario (No Squid Package stiuation)
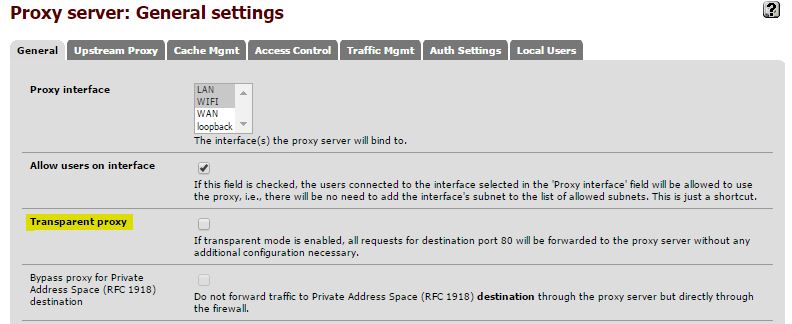
B) Now lets have a look up what do we need to do when we have Squid pack on our system click on Services–>Proxy server and remove Transparency check

Services–> Antivirüs

Enable : Click on it
Proxy mode: We removed transparency sign from Squid package and let the AV services take its place
Proxy interface :Which Interfaces do i need to cover choose from this section
Proxyport : 33125
Parent Proxy :Your Local Ip Address.
Enable Forwarded IP: Must be checked
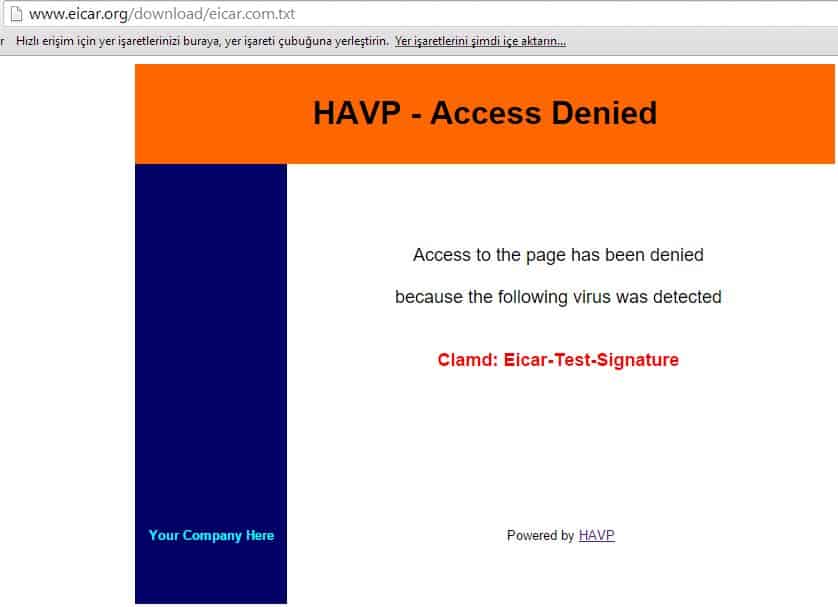
We can test our AV to do this visiting http://www.eicar.org/85-0-Download.html and try to download a virus file to our system

As you can see in this screen AV detect the virus file and blockaded it

Serdar BAYRAM


